
In: Blog Category One
Get The Body Of Your Dreams
19th February 2022
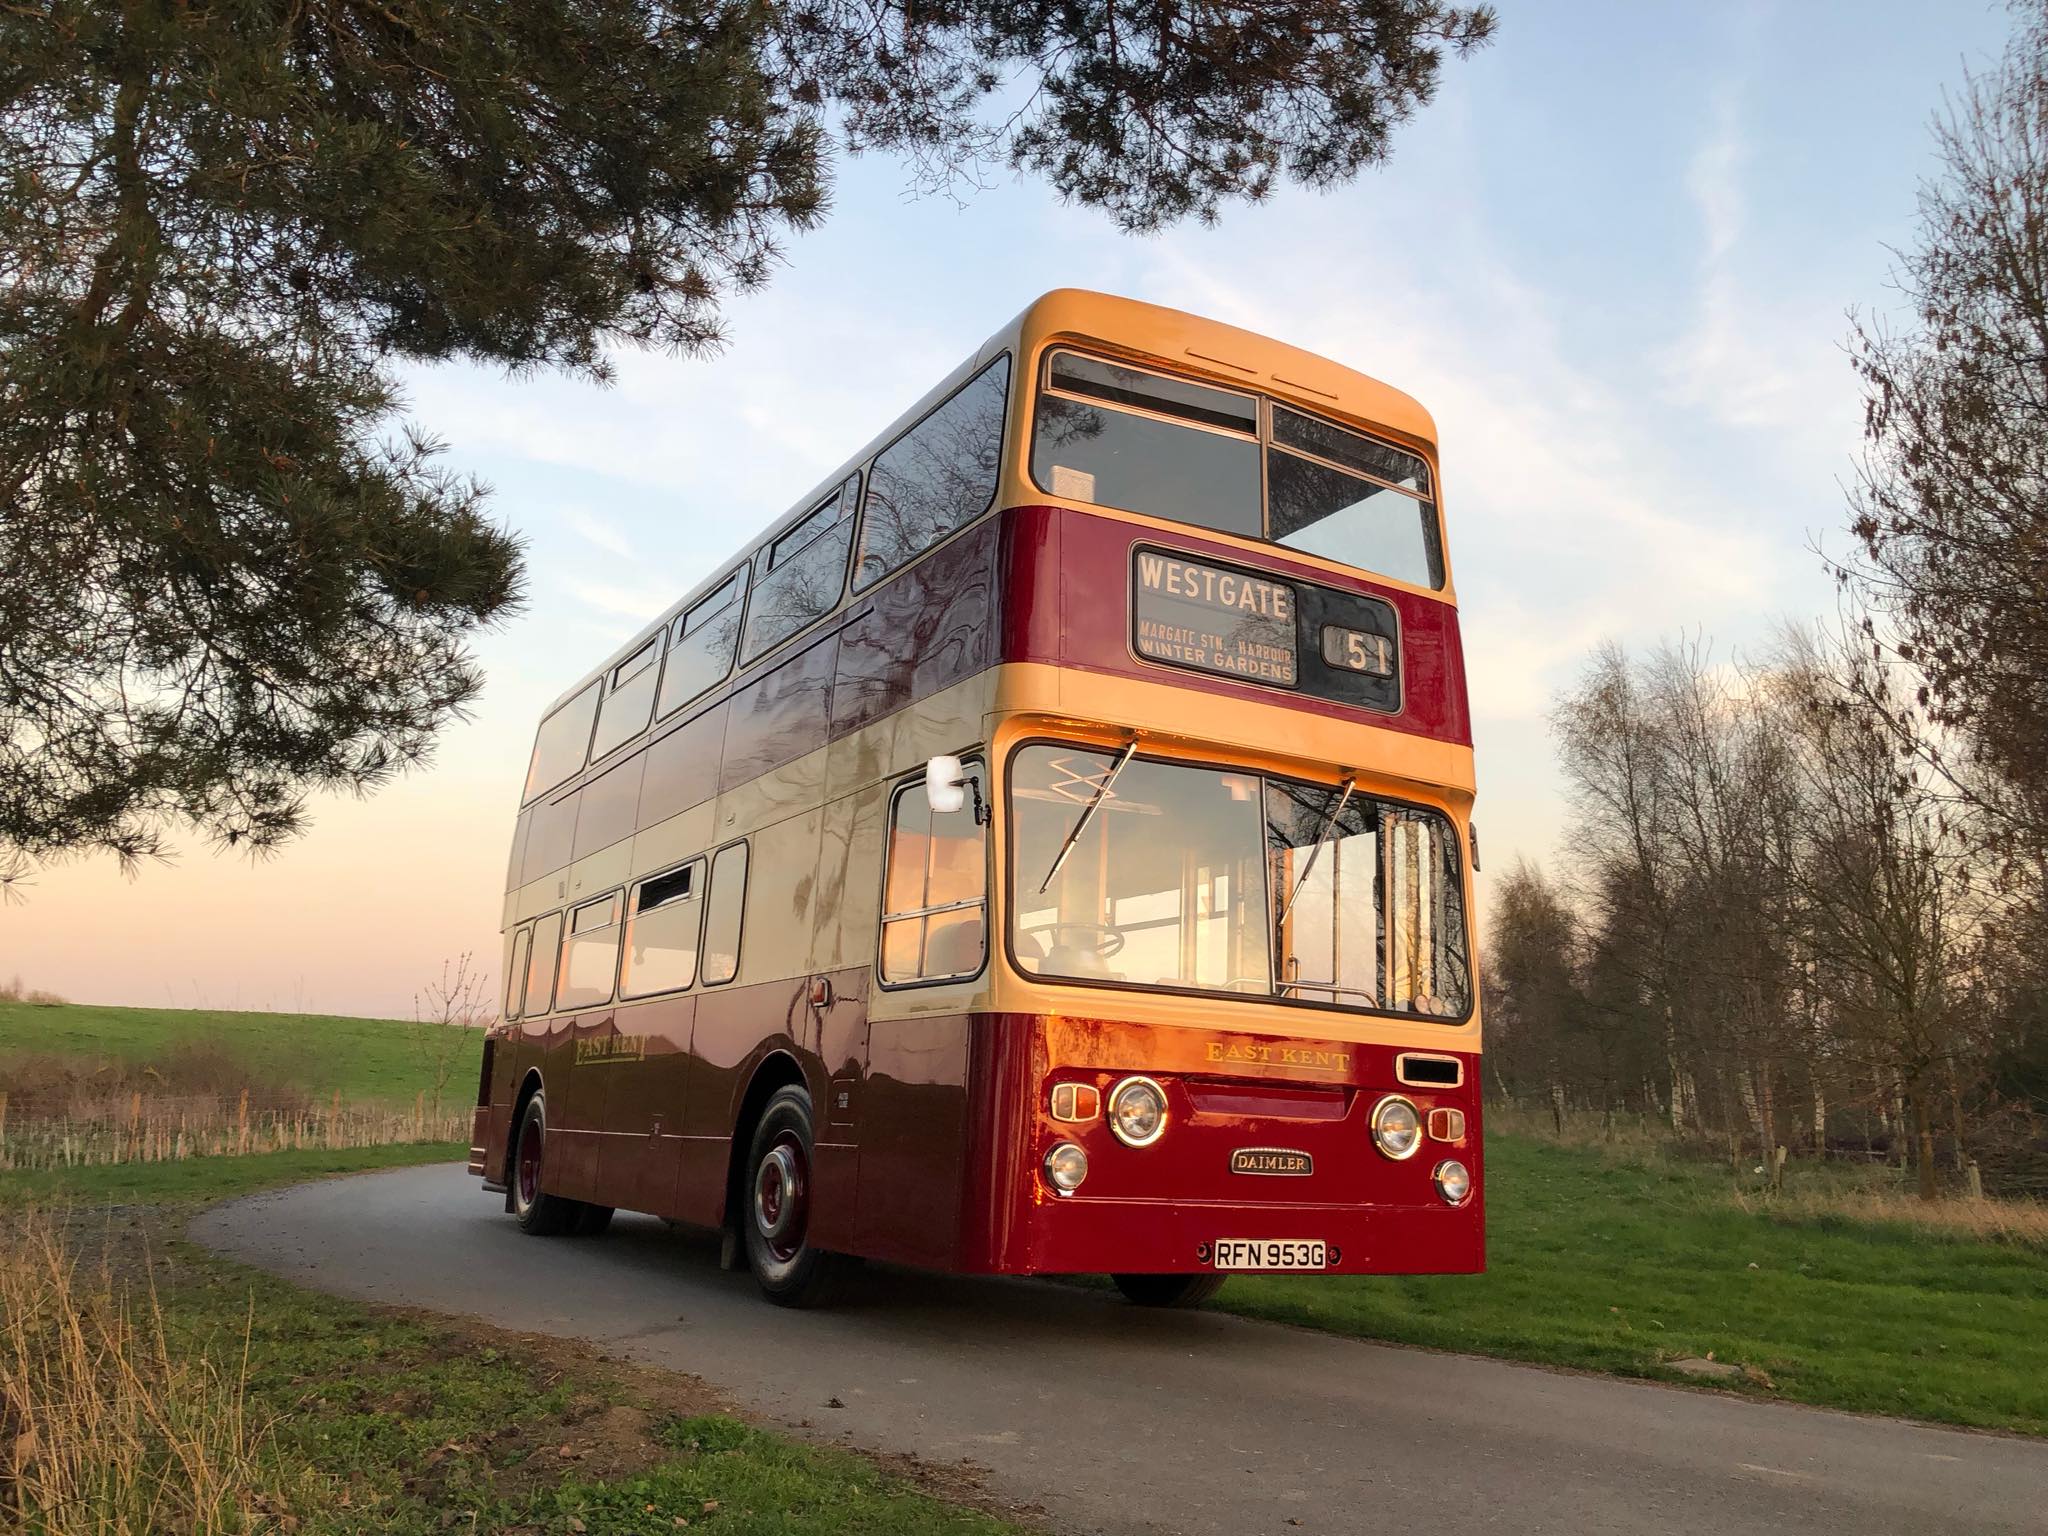
The bodywork of your bus or coach is hugely important for not only the esthetics of your vehicle but also the safety aspects too. You don’t want to be driving a vehicle with body parts hanging off or rotting away.
In an ideal world the body of your vehicle would be seamless without any imperfections but the reality is when purchasing a vehicle unless it’s in absolute mint condition there will most likely be work to do if you want to get your vehicle in tip top condition.
In my opinion nice new bodywork is about perfect lines, curves, arrow straight beading, slot head screws inline if needed and perfect preparation ready for a showstopper brush paint finish. Restoring a bus or coaches bodywork is one of my favorite parts of a restoration as this really is one of the moments when my clients can see their vehicle starting to look really smart and the exterior restoration coming together.
In this blog post I aim to help you feel more confident about restoring the bodywork of your vehicle if you already have some knowledge and skills, but before you try this yourself I suggest you feel confident and work in a safe environment with the right equipment. If you don’t feel confident then call upon a professional, friend or volunteer with the right experience. I am offering my tips but can’t be responsible for any accidents should you try it yourself.
Now you have your bus/coach restoration project safely stored you will want to take a deeper look at the vehicles body for any imperfections and realize the work that needs to be done to get your pride and joy back to “like new” condition as much as you can. I have worked on so many buses and coaches in various states over the years, some you would think impossible and all can be worked on and revived back to their former glory. Nothing is too far gone so long as you have the time, money or professional on hand. From vehicles with minor dents and buckles to crumbling wrecks with woodworm and tinworm.
There are so many different types of bus and coach bodies. We are so lucky here in the UK to have such a gorgeous wide variety and we all have our favorite styles. Here are a few of my personal favorites.
- Roe are renowned for there strength, being built from teak and unmistakably recognized by their thick band waistrail.
- MCW, in my past experience owning an AEC Regent V with an Orion body is that they are very well built and everything is riveted but they do suffer from aluminum and steel corrosion.
- Weymann with their flared lower panels on certain age bodies are stunning, steel window pans can cause rust issues.
- Park Royal I personally enjoy working on especially bodies from the mid late 50s.
- ECW are classic style, unmistakable bodywork, built to last. As long as you attend to the wood fillets under the window pans make sure they are good, the rest is solid.
There are so many more that I love and each different style has a different character.
Depending on which type of bodywork your bus or coach has, needing the vehicle rebuilding can be down to a number of factors such as sagging window frames, popping of beadings or just beaten up panels. Sometimes you don’t know what truly lies underneath until you remove panels. My advice is to remove sections at a time and assess the work section by section, rebuild in sections too, this is a morale booster as some can get overwhelmed by stripping too much down then wondering where to start.
So where do you start and how do you know what you should look out for on the body of your bus or coach? To start with if you know your vehicle is pretty sound and only requires a new panel or two then the job is going to be a lot easier. Usually you can immediately see panels and beading that have been put on uneven and crooked. Look down the side of the bus in the light and you should see if there are any lumps and bumps if filler has been used previously. Look out for sagging bodywork especially on wood framed vehicles, rotted through steelwork, corroded aliminium panels, cracked and damaged fibreglass. If there are signs of any of those symptoms then you will want to have a think about the practicalities of reviving the bodywork.
Whether it’s wood steel aluminium or fibreglass there is still going to be some deterioration caused mainly from water ingress, if water or damp sits in an area for a long period it’s going to do some damage. If you have steel and aluminium together this causes a chemical reaction, which causes the aluminium to corrode and bubble, once this has happened it needs renewing. You can usually tell of this is happening by bulging in the panels or beading.
Fibreglass is a great material as it doesn’t really rot away, but it does wear. It can break down and crack or craze showing crack lines and small pin holes. This is repairable with fibreglass by cleaning up the effected area carefully with a sander not too coarse and refilling the cracks with fibreglass mix.
Over the years I have seen behind many bus panels and generally steel frames aren’t bad, it’s the rest of the steel structure that turns to dust. Window pans are the biggest problem and stress panels. This is where water gathers and stays, then you start the process of corrosion. You have to remember these vehicles were only built in mind for around 12 years service, obviously a lot of vehicles went on to operate in service a lot longer and this shows the testament to some body builders how robust they were.
If hard wood is what your body is made from it can still rot, especially around the window pans, where water gets in. A tell tale sign is screws coming loose and beadings popping off. Look for sag in older bodies where the main structure is wood.
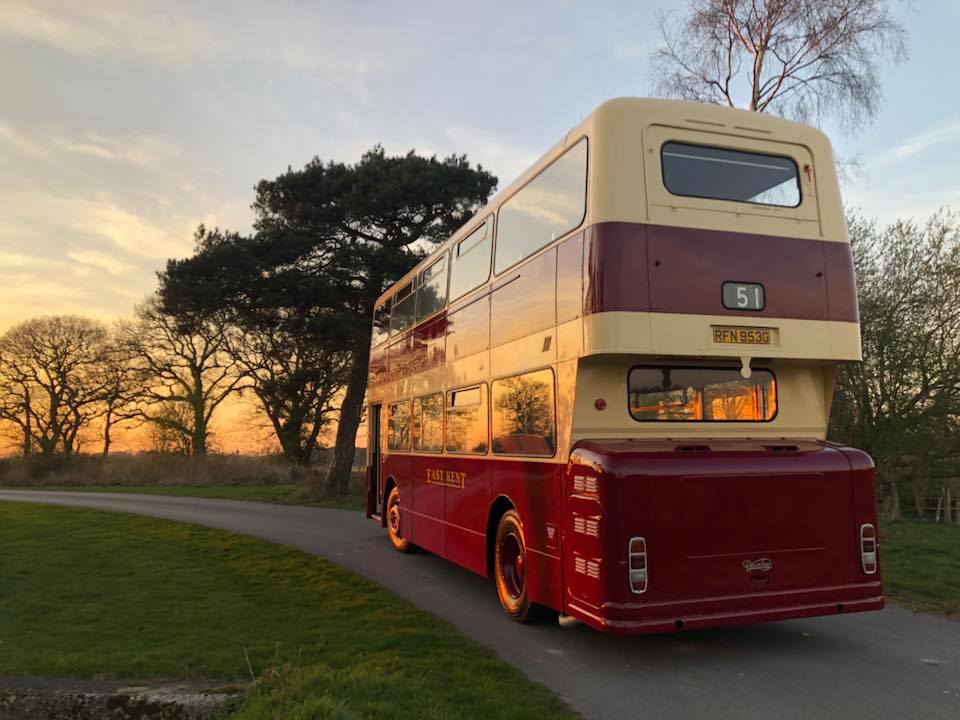
You can fill in dents and rebuild with fibreglass. This all depends on the condition and of your vehicle and the cost of what you want to do. If you have a good look around your bus or coach you will no doubt find a dent especially on a double decker on the N/S upper as this is a prime area for tree damage and other obstructions. Decide whether it’s worth filling the dents or changing the panels. If you have thick layers of paint on your panels and that is going to take a lot of work to get off then I would suggest new panels. Small dents are relatively easy to fill with body filler; big dents will take a lot more filler and a lot more time to get flat.
Once you have removed your beading the panels are either panel pinned on or small screws or small rivets. Whichever way they should come off relatively easy, sometimes panels overlapping each other or tucked under each other are sometimes tricky to dislodge, a bit like a loose tooth hanging on a thread of skin, you want to just yank at it but dare not. Just take a bit of time to make sure you have removed every fastening. Now you have your panels you can get replacements, if you have the know how to make new ones and the equipment then great, if not there are businesses out there that will fabricate new panels for you.
You have your new panels, take some time to offer them up to your framework make sure they are correct before scrapping the old ones. With some work clamps if it allows. Clamp your panel on, then either panel pin or drill and screw/rivet on the panel. Stand back and check by eye how it looks. If all is well and your happy with the position then continue fastening making sure the panel is nice and flat to the framework.
Corner panels can be tricky, making sure again to get them nice and flat to the frame as well as keeping the correct curve. Sometimes the inner framework won’t have a curved piece too secure to, so you have to make sure you don’t push the corner down too much and loose the curve. Again stand back and check it by eye, if it looks like the corner disappears at the bottom this means you have it pushed in too much.
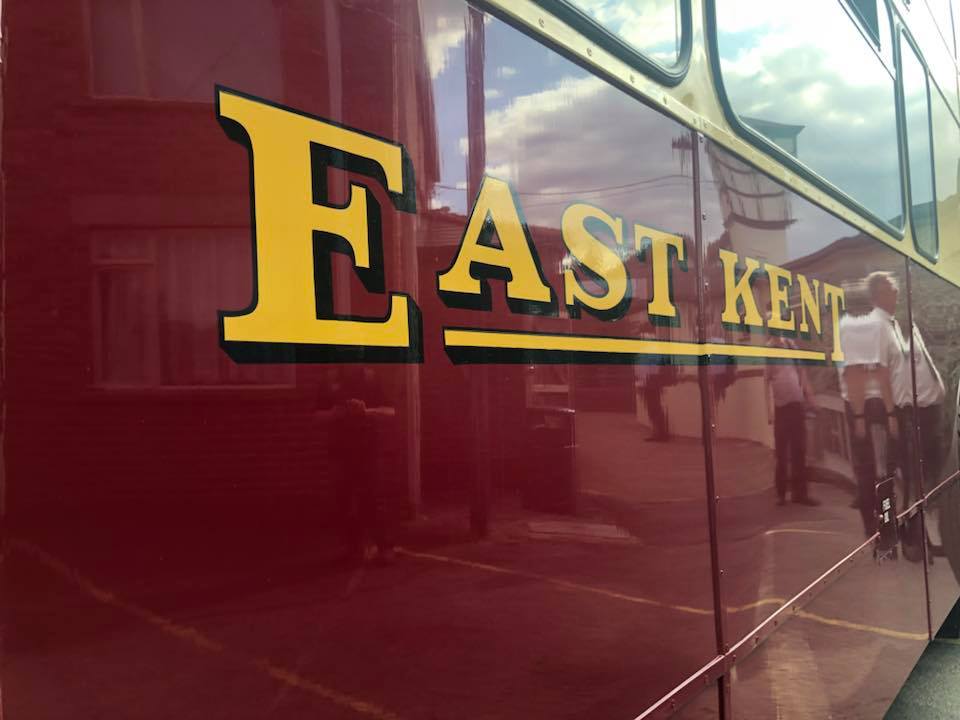
Beading or strapping is what finishes your bodywork off neatly on a bus or coach, whether it’s fixed with screws or pop rivets. Over the years with panel changes, damage and wear the beading can become quite lumpy and wonky. This will spoil your finish especially if you have gone to the trouble of replacing panels or just stripping the panels to bare metal.
Pop riveted beading is generally easy to remove. Armed with a metal drill just drill each one out and remove the beading. If the beading is screwed in this could be a longer process. If your bodywork behind is good then your screws more often than not will be tight. Some bodies countersink the holes and seat the screw in then cover the hole with filler. This is to give a cleaner finish. You generally find this method on coach bodies and ECW bodies of a particular era. The method here is when the hole is drilled for the screw then countersunk, so the drill sits flush then filled over smooth either with aluminium solder or body filler.
To remove the filler, find the holes by gently scraping the beading with a scraper to remove the paint, then you should see the outline of where the screw sits. Then with your drill carefully drill removing the filler, this usually drops out in lumps, or you have to do a little scraping. Once removed, clean out you screw head slot, this will be generally be a slot headed screw.
You will need an impact driver which is a large heavy screwdriver which is spring loaded so you can hit the end which causes impact and a turning motion at the same time. More often than not the screw will come undone. If not then you will have to drill the screw head off.
Now that you have your beadings removed you can fit new straight beadings.
Fitting new beadings I find is very rewarding, measuring, cutting, drilling and fixing it on transforms the bus or coach immensely. Even if you decide to keep your old panels and fill them, fixing new beadings on will make a huge difference.
So you have your length of beading, which you can get from various metal suppliers. Usually comes in 4 meter lengths. Measure the area you want to fix the beading onto, either inches or mm depending on how old school you are. Mark your measurement onto your beading, make sure you make new positions in the beading so you are securing into a fresh piece of steel, aluminium or wood, I generally use a tipex pen great little tool for everything.
Once you’re happy with your measurement secure your beading and cut to length. After cutting, offer up to the area you are fixing to check that it should fit snug.
Then you can mark out to drill your holes. Marking out your holes, body builders had different methods when position the holes. Obviously mirror the original position, whether it’s diagonal or inline. Measure and mark your positions with your marker, then drill each hole. Countersink if necessary. Ok, before you seal your beading make sure you have all your holes drilled and you are happy with where it’s going to be positioned. Once all your holes are drilled then run a line of sealer down the back of the beading or onto the panel then screw or rivet on the beading. Clean up any residue seal leaving a clean, straight and watertight finish.
So there you have it, I hope that helps you know how to briefly look over the bodywork on your vehicle and fit new panels should you wish to do it yourself. Like I said before if you don’t feel confident then call upon a professional, friend or volunteer with the right experience. I am offering my tips but can’t be responsible for any hiccups or accidents should you try it yourself.
As ever if you have any questions you can contact me via email here info@ashleyblackman.co.uk.
Bodywork Top tips
- Make sure you have the best tools for the job paired with confidence using them. Good screwdrivers, impact driver, drill, good metal scraper, centre punch, measure, hacksaw, work clamps, tipex pen.
- Get the correct sealer for panels and beading, one that stays flexible and is paintable.
- You may need extra volunteers with experience for certain jobs.
- Use good lighting.
- Get a professional to do the work if you are not confident.
- Look into suppliers in your area who can manufacture parts for you and get you the consumables you need.
- Take your time look at photos of how your vehicle looked originally, study the bodywork in past photos as over time panels get changed and altered.
Related Posts
Coach Paint with Ashley Blackman - Mini Course
16th December 2022
All the tools of the trade you need to coach paint like Ashley Blackman.
Planning Your Restoration
21st February 2022
Ashley discusses the start of the restoration, creating a plan of action for the work that needs to be carried out to…
It’s Electrifying
14th December 2022
In this article I interview my friend and electrical guru Malcolm Green, discuss bus and coach electrical restoration...
‘AD’ to your restoration
27th February 2022
It's time to decide if you would like to have period adverts recreated and shown off on the exterior of your bus.