

In:
It’s Electrifying
14th December 2022
In this blog post I interview my late friend and electrical guru Malcolm Green, we discuss bus and coach electrical restoration.
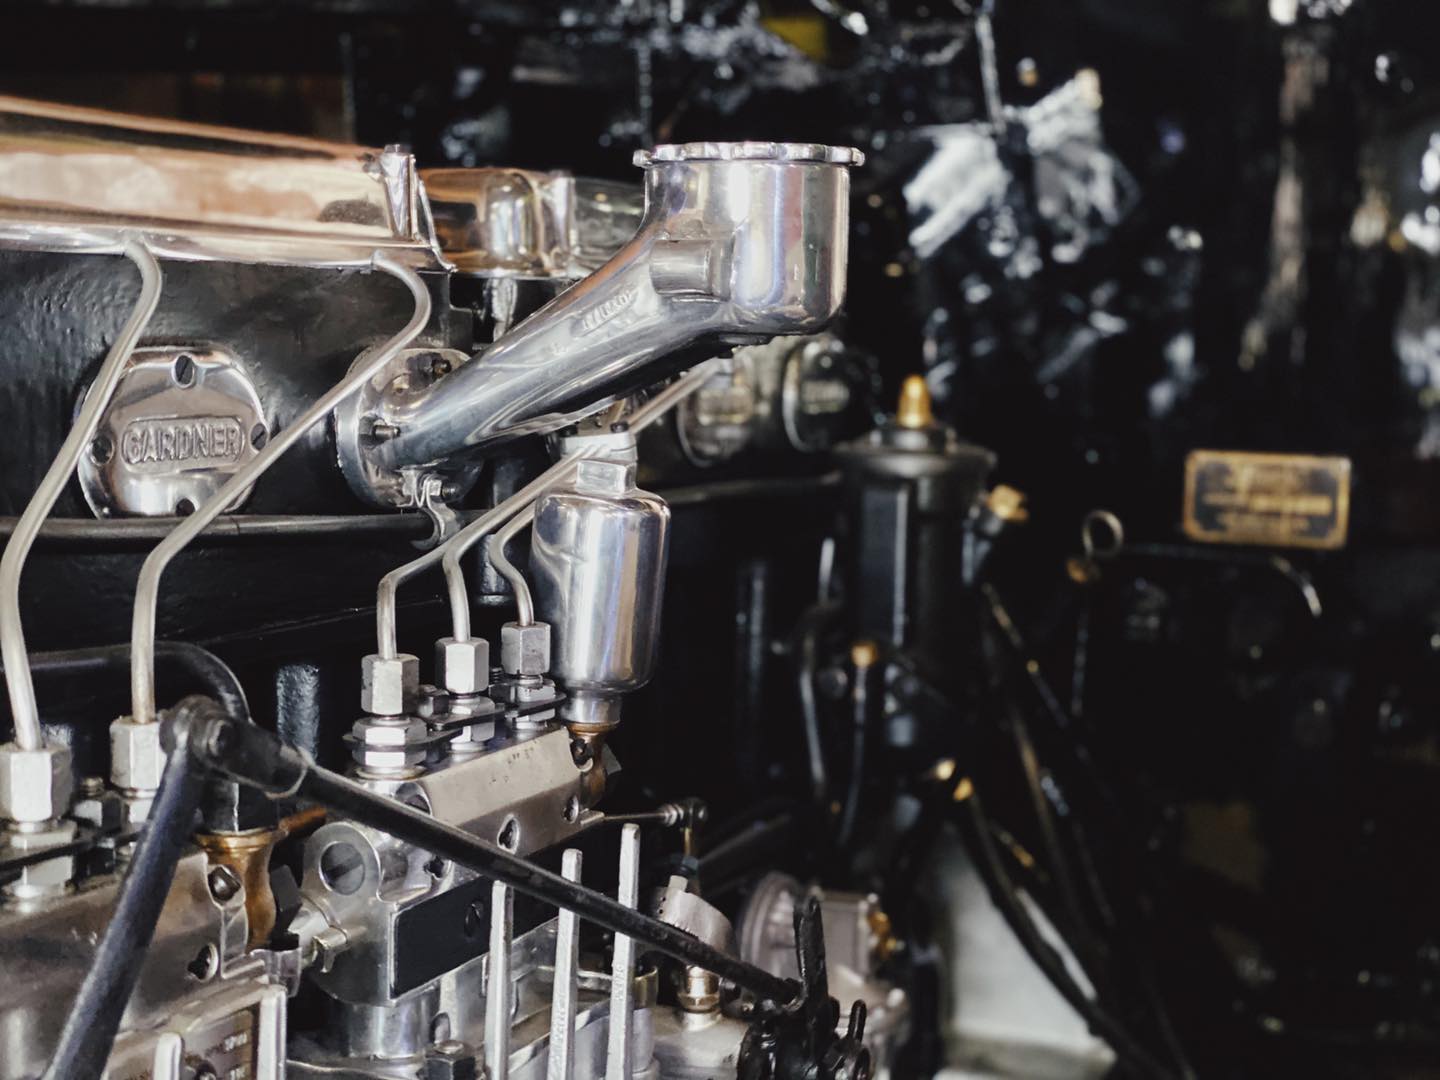
If you are tackling a full or partial restoration on your bus or coach there will always be some electrics to look at. I’ve encountered quite a few wiring jobs on various different buses and coaches I have restored. There have been some small fixes and some head scratching moments over the years. Just remember if you are working on an older vehicle expect the unexpected with electrics and a simple break in a wire could take a while to find and it’s almost always in the tightest spot.
Disclaimer: Please ensure you are working sensibly and safely and with the right equipment as we cannot be held responsible for any accidents should you follow any of our advice. If you aren’t confident or are unsure then please call a professional to help.
Interview With Malcolm Green
I learnt a lot of my electrical knowledge from a very good friend of mine Former London Transport Instructor Malcolm Green, who we miss very much. He was always on the end of the phone, always patient to explain things to me and very methodical, he has been a huge support throughout my career. I knew it would be a good idea to introduce Malcolm to those of you who don’t know him already, so you can learn from his vast knowledge too. He was very much a bus and coach electrical guru in my eyes!
I spent some time with Malcolm a few years ago talking with him about his electrical experience and career at London Transport. Here is what he had to share.
Malcolm you have had an amazing auto electrical career, could you please tell us some more about it?
I started with a company called Burroughs Computers in the late 60’s doing lots of relays and electronics, then I went to London Transport in 1970 as an electrician. At that time LT were looking for people who understood electronics and relays because of their automatic fare collection on SM, SMS and DMS. I did 15 years with LT as an electrician, then an electrical instructor, training manager for Chiswick and Aldenham Works which included all London Transport area garages too. Then I left in the 80’s and have been self employed for over 30 years now and have worked with many private clients and big companies, including Big Bus. I do offer a consulting service for those who need tailored advice for their bus or coach electrics.
What type of vehicles have you worked on?
There is a long list but here are a few that come to mind, RT, RF, RM, FRM, MB, SM, Atlantian, DM, Metropolitan, Titan, Metrobus, Bristol, Bristol LH, Bristol VR, Leyland National and National 2, Volvo B10, Citybus, Dennis Condor, 6 Wheel Metrobus, Leyland PD, AEC Regent, Reliance and Guy Arabs.
Wow that is a variety to be proud of, you have pretty much worked on every vehicle. You are based in Surrey but where have you travelled to working on buses and coaches, I understand it is international?
London, Yorkshire, South Coast, Devon, Germany, France, Philadelphia, it has been a lot of fun.
What is the most common electrical fault preservationists should be aware of?
That is a difficult one but probably flat batteries I get asked about the most. Make sure you have good batteries, maintain them and look after the connections. Keep them clean and protected with either Vaseline or battery terminal grease.
I know you will get a lot of questions asked, which question comes up the most?
Probably what is the logical sequence to diagnose a fault, because you get asked so many different questions about so many different things.
Yes I think I have definitely asked you that question in the past, you have taught me so much. So what advice can you give someone about electrics when restoring their bus/coach?
Basic advice I can give you all is work out your cable size requirements using ohms’ law which is very simple and will stop problems later. Ohm’s law is basically volts = amps over resistance. If you know your volts and you know your resistance from the wattage, you get what amps your going to use, from knowing the amps you are going to use then you get a wire that is big enough to carry that ampage.
Some studying up on Ohm’s law I think is required for those who want to understand it. How safe or dangerous is it working with electrics?
If you use the above to work out your cable sizes and you use the same thing to calculate the fuse sizes then you will get proper fuses. If you do that even if you do something wrong the fuse should blow before anything else does. But be confident don’t work on electrics yourself if you don’t understand what you are doing and you don’t have the right equipment, you don’t want to have an accident. Call in a specialist bus or coach electrician.
What equipment would you recommend having for electrical restoration work?
You will need a multimeter so you can look at voltage for example testing your batteries for power. A test bulb with a minimum of a 21watt bulb should be sufficient. You will also need some small terminal screwdrivers, terminal connectors, wiring, electrical tape and cable ties should get you started.
What other advice can you give us?
Always check fuses with a test bulb, don’t just look at them check if it is conducting, you can do this with a test light by connecting one end to a good earth and the other end to each end of your fuse to see if you have a power supply. Always check power supplies with a 21w bulb because if you check it with a meter it will show you have got a supply but possibly not enough power.
Are there any horror stories you can tell us all about?
There was a DMS that was overcharging its batteries and as it was travelling down the road the batteries blew up causing the floor trap to embed itself in the ceiling. So that was scary! I have also seen a Routemaster being boost started with a battery pack with dead batteries fitted and saw a spark on the battery, thankfully I wasn’t on the bus at the time and as the bus was turning over the batteries went BANG. So it is really important if you have a boost pack and your batteries are dead it is safer to couple the boost pack to the vehicle without those batteries connected.
Yes that is pretty scary for bus owners to read but also good safe advice, always make sure your batteries are maintained regularly and if you think you might be over charging there are some telltale signs aren’t there?
Yes those telltale signs can be a rotten egg smell, bright bulbs make sure you get a multimeter and check the output on the batteries quickly with the bus running on tickover. The reading on your meter should be around 26-28 volts. Note if you have an older vehicle with a dynamo then this will only charge upon slight revs of the engine.
One common thing that I find, especially with clients who have had an auto electrician out to their vehicle and those electricians maybe haven’t had the experience of working on older vehicles, they automatically think they can pick the earth up from the body or chassis. What are your thoughts on this?
Oh yes that is very common, I met a company who fitted tachos and they fitted one on a Routemaster and they fitted the earth off the tacho down to the body. Consequently putting an earth onto the body blew the PA system. Fitting and earth to the body you are sending a current down the body of the vehicle, so unless you have plenty of fuses protecting everything this isn’t advisable. Older vehicles have less fuses to protect all of their circuits, so unless you are sure there isn’t going to be a problem always earth back to the switchbox because if the circuit goes down to earth it can burnout before it takes the fuse out, which you don’t want!
That’s really important advice and people should be wary of this. So always check when working with auto electricians that they have lots of experience working on older vehicles with earth return.
Back to when you worked at London Transport can you tell us some more about this?
The main vehicles were RT’s and Routemasters which I really enjoyed working on. Most electricians there at the time were ex house electricians because the RT wiring was very similar to a house wiring because you used 2 wires to go to everywhere and it was very simple. But then with the introduction of the DMS and the SMS with automatic fare collection as well as flourescent lights and electronic gear change there were more specialist electricians like myself who knew what a relay or transistor was. I trained for two weeks at the AFC school with Gus Ferguson who was a terrific guy with a brilliant sense of humour. We got on well and later he would tell me he was moving up the ranks and was recommending me to head up the training school. I really enjoyed that as I had learnt so much about the buses by then and it was nice to teach other people. This lead me to visit and work at every London Transport garage.
Some further “electrifying” advice from Ashley
Your lighting might be working and various other components but behind the scenes could be another story. Dried out insulation and bad connections can lead to all sorts of weird and wonderful things happening. By this I mean lights working when they shouldn’t and gears selecting on their own. So you might not know what your wiring is like behind ceiling panels and light units but make sure all your fuses are in the right place and doing their job correctly, nobody wants a fire. My best advice is to make sure you have a main isolator wired in that isolates your batteries, this applies to mainly older vehicles as they tend to not have them.
Another thing to check are your indicator bulbs, sometimes they are wired in series so the light bulbs will be 12v. I have also come across light bulbs which have blown because they are single connection, earthed at the cap and a double connection light bulb has been fitted causing it to blow immediately.
If you are fitting your own panels and you are drilling and screwing or riveting be careful to make sure what you are drilling because if there are wires behind panels you can create yourself a lot of problems. After sealing up your panel and maybe even going as far as painting, to then find you have no indicators for example it can be a little frustrating.
Touching back onto what I said above about isolators, I want to tell you one of my experiences. Many moons ago I owned 1965 AEC Regent V, CTT 518C Ex Devon General with a Willowbrook body. This particular vehicle I had owned for a while in running order and rallied quite regularly. I would return from a rally, park up and turn the master switch off in the cab, this worked fine until I noticed smoke under the bus behind the front axle/staircase area. Upon dashing under there I discovered smoldering wires which were still live despite turning the master switch off. This of course put me into a panic, what had happened? This particular wiring I can’t quite remember what circuit it was on but the insulation must have got damaged and was shorting out, this is where two wires together the live and the earth will touch causing heat build up or sparks leading to fire. So the immediate thing to do if you haven’t got an isolator switch fitted is to disconnect your batteries, this also looks after your batteries too by prevent them from going flat quickly.
Another tip is to always make sure you have a fire extinguisher handy!
Just keep in mind that you make sure you have a good test light and you make sure your wiring has the correct fuses. Keep a stock of light bulbs too in case you need to change an indicator bulb out on the road.
Related Posts
Planning Your Restoration
21st February 2022
Ashley discusses the start of the restoration, creating a plan of action for the work that needs to be carried out to…
Engines - The Heart of Your Vehicle
20th February 2022
My first experience with engines was working on AEC’s from a young age. I was lucky enough to grow up surrounded by…
The Bright Side
27th February 2022
Ashley Blackman takes a closer look at how restoring bright work and glazing on your bus or coach can transform the look…
‘AD’ to your restoration
27th February 2022
It's time to decide if you would like to have period adverts recreated and shown off on the exterior of your bus.